Neighbourhoods
Neighbourhoods in Build and Conquer: how residential districts come together from roads, housing and shops, and how to lay one out so it can grow into a.
Neighbourhoods are what you get when roads, housing and local shops share a block. Build them dense and keep expansion room at the edges — the level 5 city is just several neighbourhoods that grew into each other.
The developers describe Build and Conquer as starting from an empty plot and ending with neighbourhoods, roads and cities — and that is the actual progression. A neighbourhood is not a single building; it is the working unit of early growth: a block with housing at its core, shops on its artery, and roads around it.
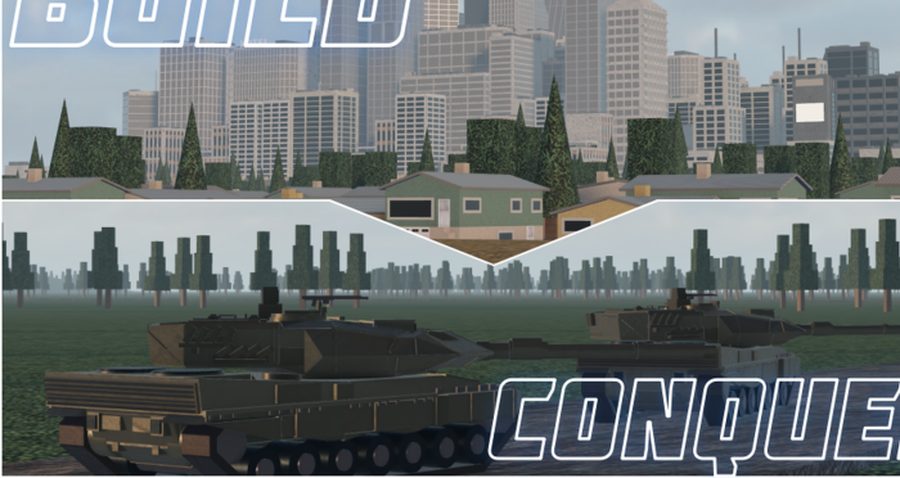
What a working neighbourhood looks like
| Element | Role |
|---|---|
| Apartments or houses | Population — the point of the whole block |
| Shops on the main street | Income that scales with the block's population |
| Roads on every side | Placement and truck access |
| Service coverage | Power and water, or the block quietly underperforms |
Building one that can grow
- Pick blocks you can extend. A neighbourhood at the edge of your plot is easier to grow than one in the middle.
- Run the same apartment type in rows. Mixed housing looks nice but rows of one building place faster with the drag tool and upgrade more cheaply.
- Leave the industrial zone out. Factories next to bedrooms is the classic layout mistake — separate districts, connected by roads.
- Add scenery when the numbers are done. Farms, trees and parks are cheap and make a country read as a country. Do them after your income buildings are placed, not instead.
The upgrade path
Neighbourhoods become districts, districts become a city, and city levels gate what unlocks next — level 2 at 250 population gets you military production, level 5 at 2,500 gets you the glass tower. See the city levels guide for the numbers and housing for the building values themselves.